/
Standard workflow in maintaining and creating icon fonts
Standard workflow in maintaining and creating icon fonts
- Eloisa Guerrero
- Justin Obara
- Sepideh Shahi
Owned by Eloisa Guerrero
In the interests of being able to create and update icon fonts used in UIO (and other systems), a more streamlined workflow is required to ensure the icons are kept uniform and consistent.
Overview of Steps
Part 1: Working with Adobe Illustrator (CS6 or CC and above)
- Creating a new artboard in the master .ai file that houses all the current icon fonts in use.
- Using actions in Adobe Illustrator to scale the image to 64 by 64 pixels.
- Aligning the image to its artboard.
- Exporting (all or selected) images to SVG.
Part 2: Running grunt to generate the icon font
Part 3: Adding SVGs to Github repository
Part 1: Working with Adobe Illustrator (CS6 or CC and above)
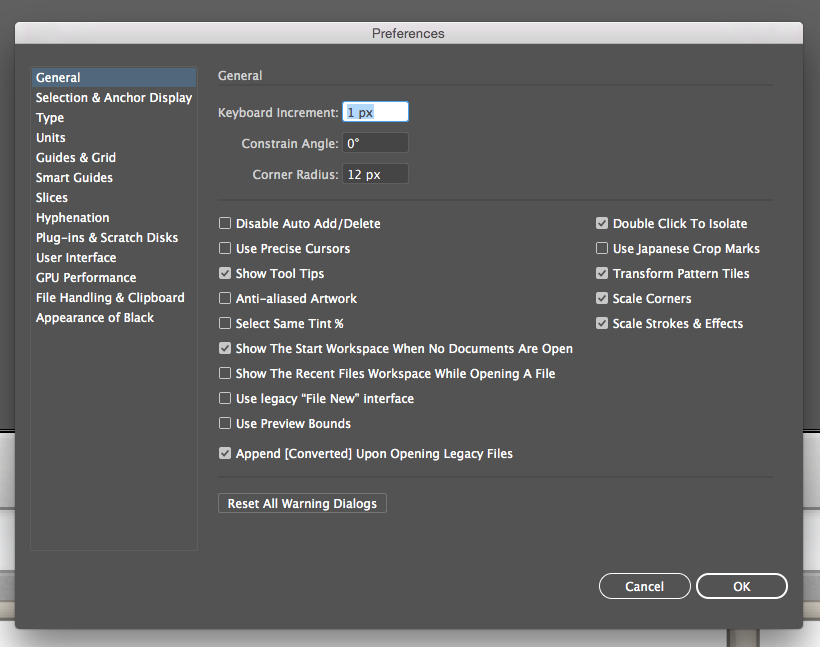
- Check your Adobe Illustrator general settings to ensure the Anti-aliased Artwork option is unchecked.
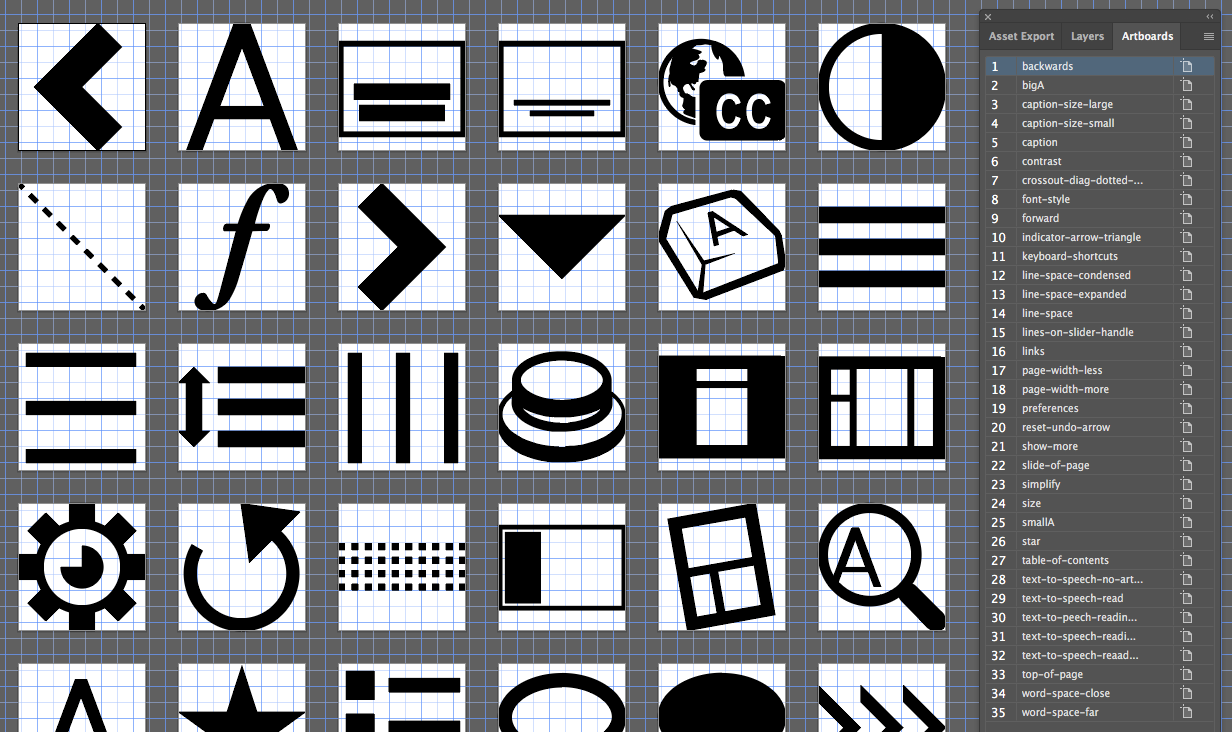
- Open the master file (located in ownCloud under "IDRC-Design > Inclusive Resources and Tools > Design Templates > Infusion-icons.ai") with the current icons. The list of artboards on the right are named descriptively.
- Create a new artboard by clicking on the Artboards menu and rename it meaningfully.
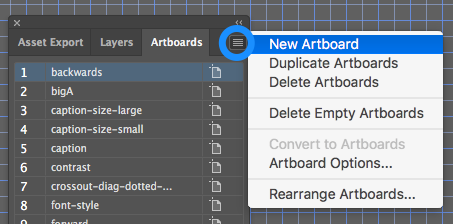
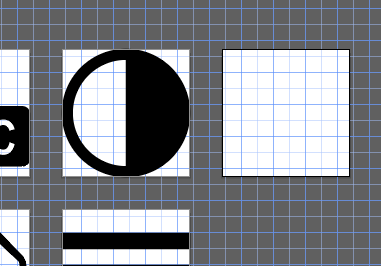
- A new artboard is created and automatically sized at 512 by 512 pts.
- Import or paste your new icon into the artboard. If it does not fit the artboard, select the image and resize it. You can scale it to your liking while constraining proportions, or you can use the scaling actions (after loading the Infusion Icons Actions):
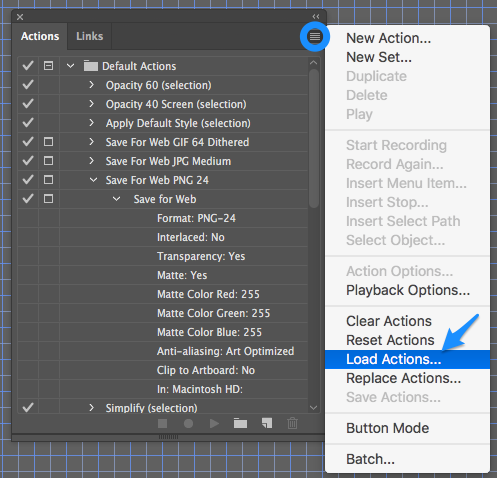
These scaling actions are located in ownCloud IDRC-Design > Inclusive Resources and Tools > Design Templates > Infusion Icons Actions.aia.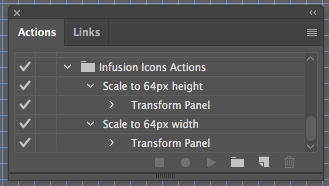
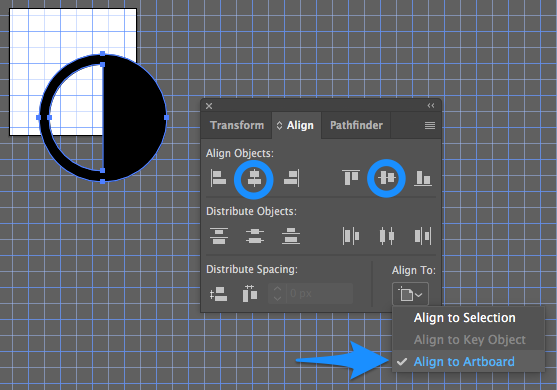
- Position it in the centre of the artboard:
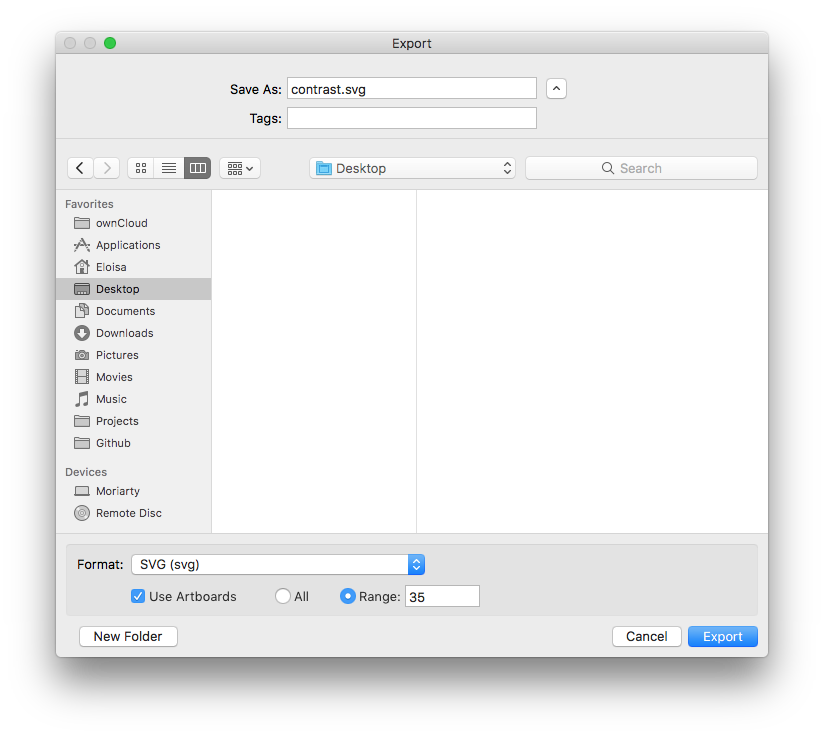
- Export the new image as an SVG under File > Export > Export As and make sure your Format is SVG and that "Use Artboards" is checked. You may also specify which of the artboards gets converted into SVGs by inputting the range. Since we created just one icon, we will save the newest artboard we created (35th).
Part 2: Adding SVGs to Github repository
- The Github repository for the icons is located here: https://github.com/fluid-project/infusion-icons/
- Clone or fork the repository and add your icons. You may then submit a Pull Request integrated them into the current set of icons.
Part 3: Running Grunt to generate the icon font
- Requires Node and Grunt to be installed.
- Create a new folder and navigate to it using the command terminal.
- Install grunt-webfont. The following instructions assume the node engine is used. The fontforge engine can be used instead but requires it to be installed independently
npm install grunt-webfont --save-dev - Install Infusion-Icons
npm install infusion-icons --save-dev Create a Gruntfile.js file such as the following:
Gruntfile.jsmodule.exports = function(grunt) { // Project configuration. grunt.initConfig({ pkg: grunt.file.readJSON("package.json"), webfont: { icons: { src: "node_modules/infusion-icons/svg/*.svg", // Path to the Infusion-Icons, may be different if you use a different set of SVGs dest: "src/fonts/", // Destination path for the font files. destCss: "src/css/", options: { engine: "node", // To use the node engine. font: "icons", // Name of the font. destHtml: "assets/", templateOptions: { classPrefix: "icon-" } } } } }); // Load the plugin that provides the "webfont" task. grunt.loadNpmTasks("grunt-webfont"); // Default task. grunt.registerTask("default", ["webfont"]); };- From the command line run the Grunt command to build the font.
grunt
, multiple selections available,
Related content
Infusion Icons Visual Style Guide
Infusion Icons Visual Style Guide
More like this
Managing UIO in a project
Managing UIO in a project
More like this
Installing and Getting Started with UI Options
Installing and Getting Started with UI Options
More like this
Navigation Icons API
Navigation Icons API
More like this
Building a Bundle
Building a Bundle
More like this
Navigation Icon API
Navigation Icon API
More like this