Decapod 0.4 User Guide
- Jonathan Hung
- Inclusive Design Research Centre OCAD
Analytics
Introduction
This guide will give you a quick tour of the capabilities of Decapod 0.4, and how to use it.
This guide assumes you have Decapod 0.4 properly installed and running on your system. Please see the Download and Install Decapod 0.4 document to get Decapod set up and working.
Launching Decapod
After you have downloaded and installed Decapod 0.4 and all its related components, start the Decapod server by running this at the command line:
./decapod-0.4/decapod-server/python decapod.py
If you do not have cameras
If you do not have cameras, you can still get a feel for what Decapod will offer by "No Camera" mode. The No Camera mode mimics capturing from cameras without having actual cameras attached.
To run the mock server: ./decapod-0.4/decapod-server/python decapod.py --no-cameras.
Camera Setup
Once the Decapod server is running, open Firefox and enter the following address: http://localhost:8080.
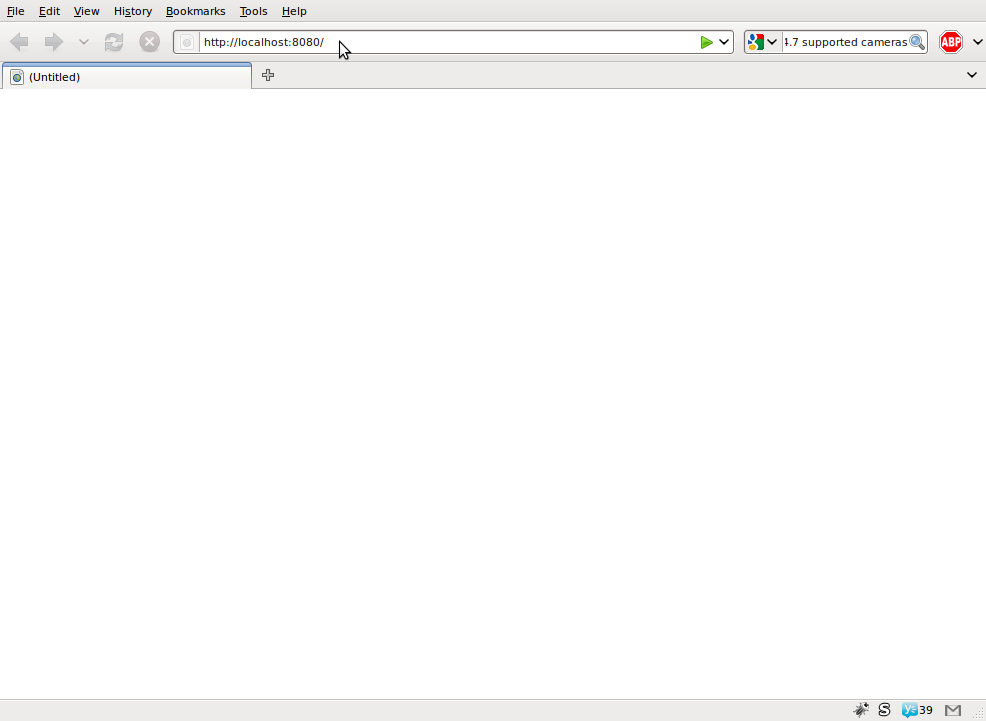
Upon loading you should see the Decapod interface.
When loading Decapod for the first time you will see the Book Management screen. Right now functionality is just limited to starting a new book, and in the future Decapod will support saving and resuming books from this interface.
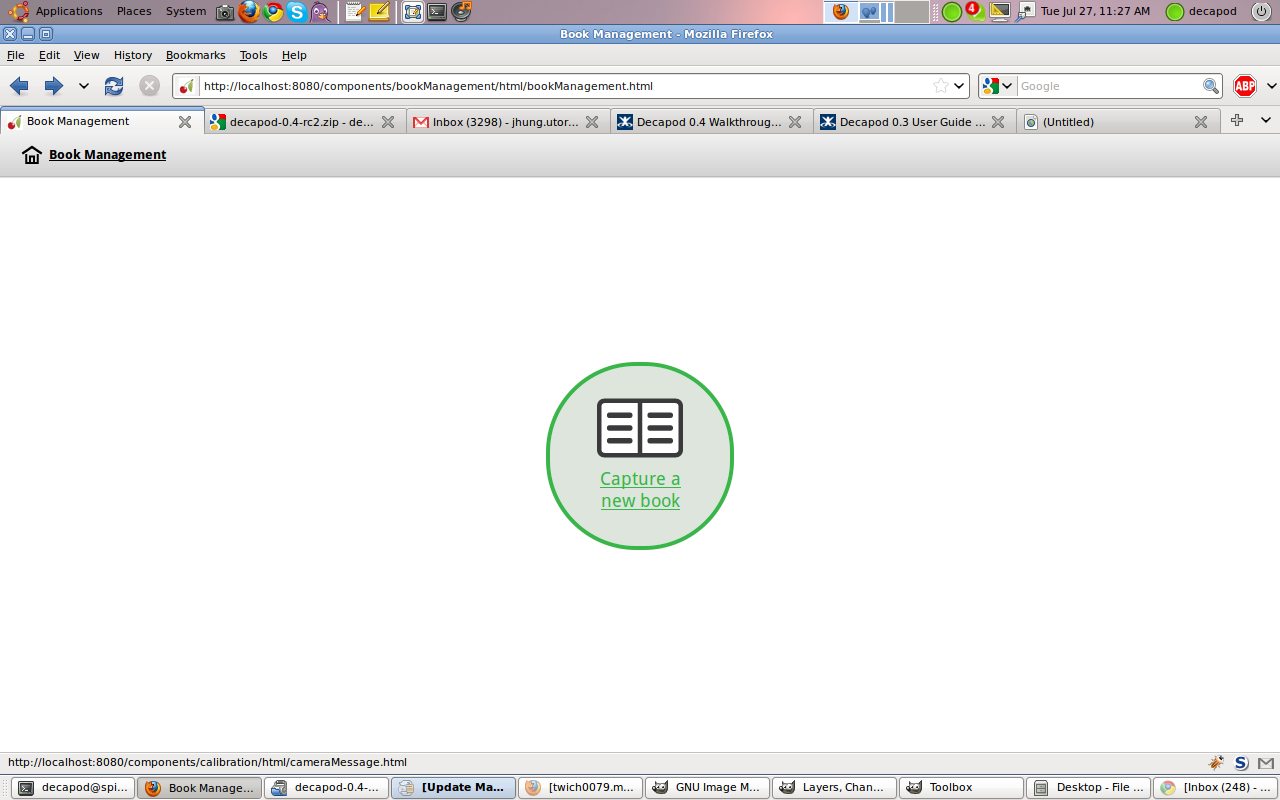
Select "Capture a new book" to begin.
Next you will be prompted to configure your cameras. You may choose to skip calibration, but we strongly recommend that you do not. Currently, Decapod supports only the Canon PowerShot G10 camera. More cameras will be supported in the future
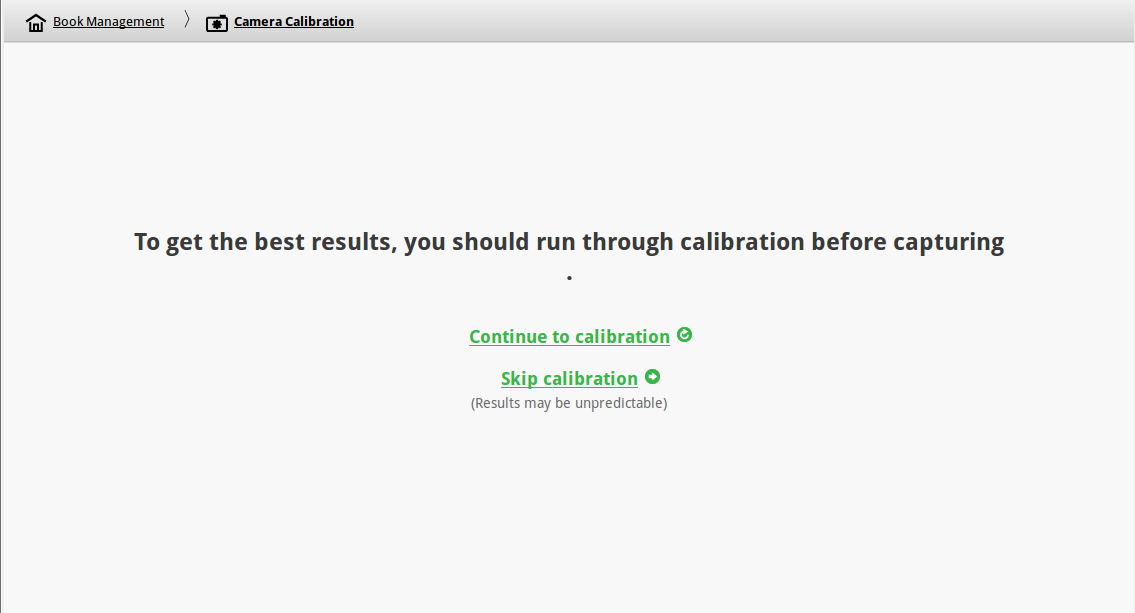
Select "Continue to calibration".
If you have two matching, supported cameras attached, you will now have the opportunity to adjust the rotation of the cameras and the order in which pages appear.
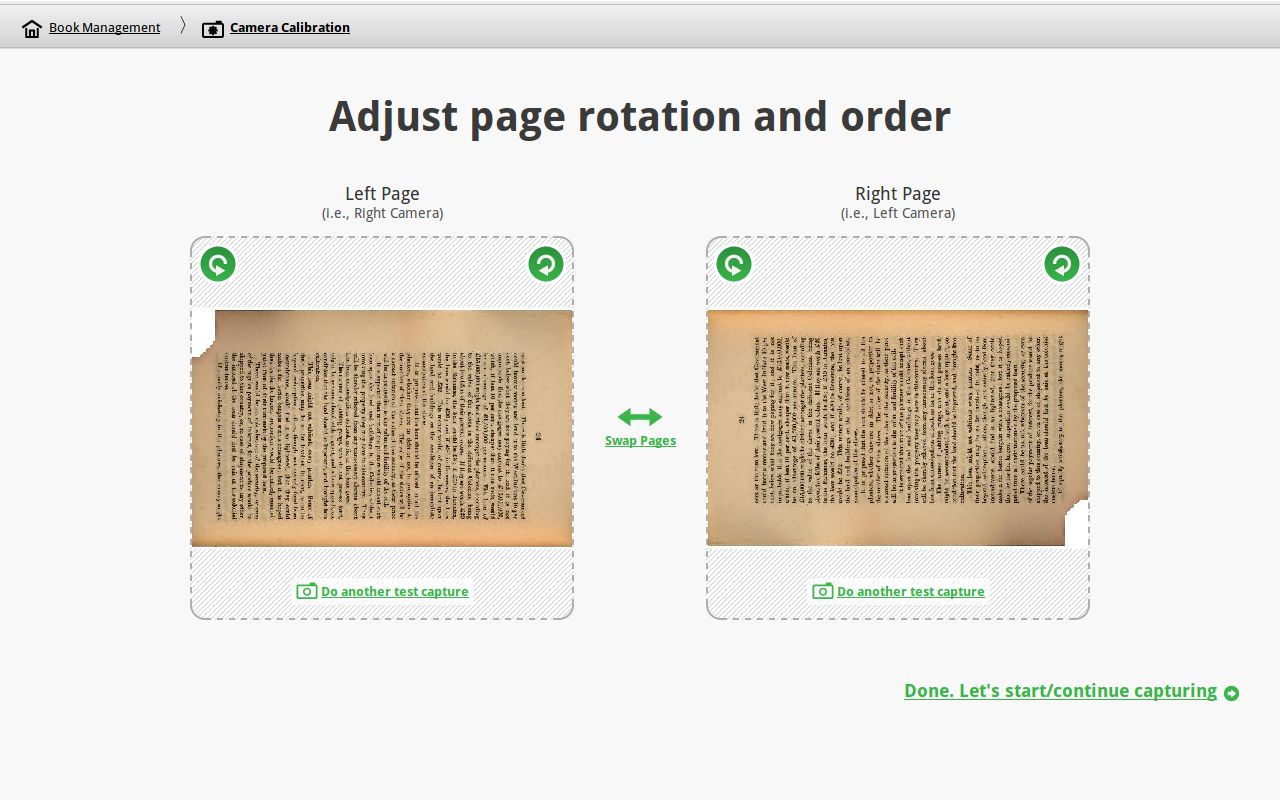
Selecting the green  or
or  buttons will rotate the images clockwise or counter-clockwise. The double-arrow
  button will flip the order of the images.
Select "Done. Let's start / continue capturing" to proceed to capturing book pages.
The Capture Screen

The Decapod interface is divided up into four main regions:
- The thumbnail browser: contains all the book pages already captured.
- Image preview area: shows the currently selected thumbnail in more detail.
- Capture controls: takes pictures using a pair of supported cameras attached to the system and adds it to the list of pages already captured.
- Along the top of the screen is a navigation breadcrumb allowing you to move about the Decapod application, and the Export button.
Capturing Images
This portion of the guide assumes you have gone through the Camera Setup process, otherwise your results may vary.
If both cameras are supported, then pressing the "Take Picture" button will cause each camera to take a picture in turn.
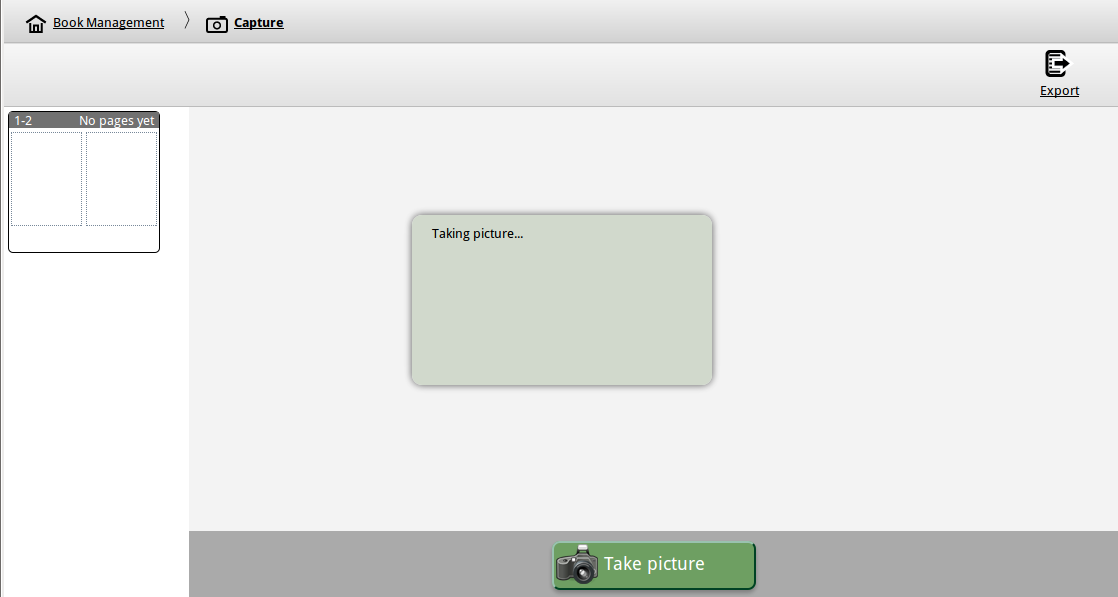
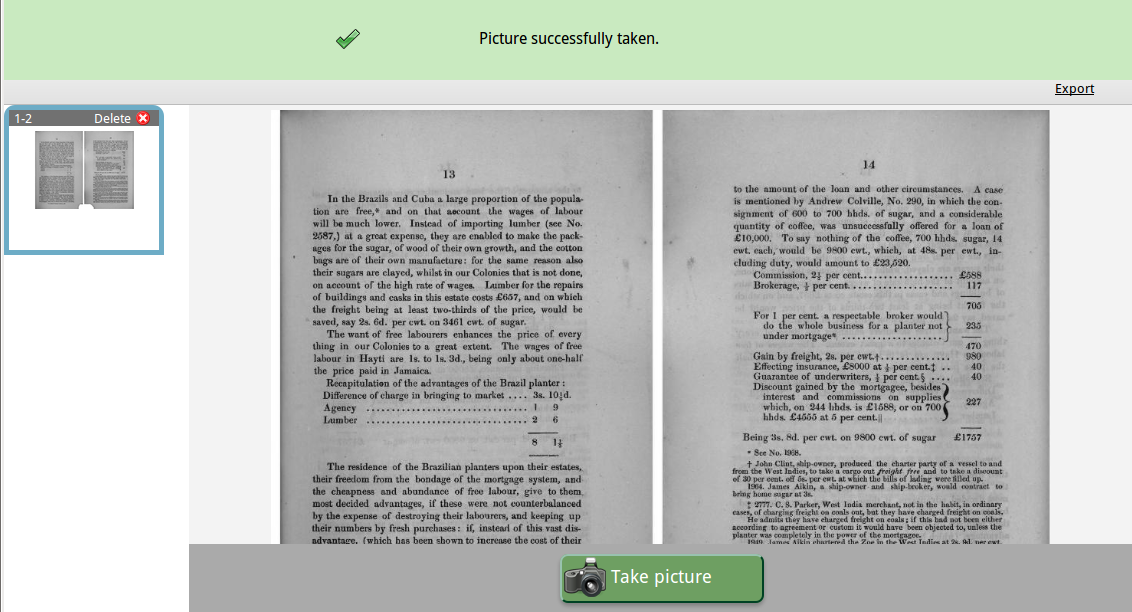
The system will then take a little time to process the images. Once complete the images will be added to the thumbnail browser.
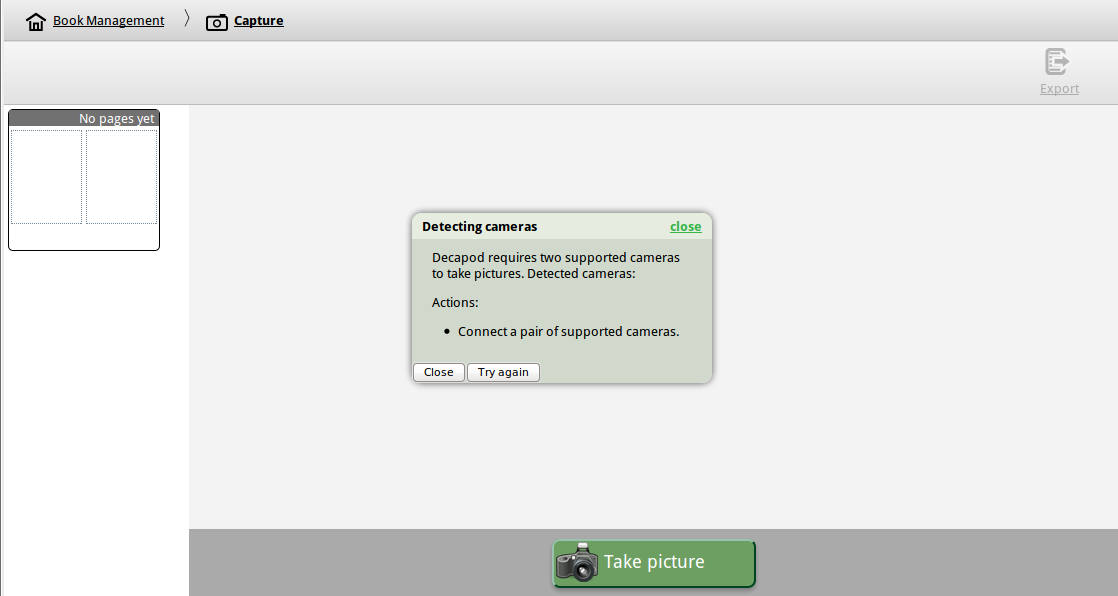
If one or more cameras are not supported by Decapod, will see a message prompting you of an error, and to attach a pair of supported cameras:
Viewing and Organizing Thumbnails
Once you have images captured and listed in the thumbnail browser, you view a larger version of the captured image by selecting it. You can also rearrange the order of the pages so that they are in the order you prefer.
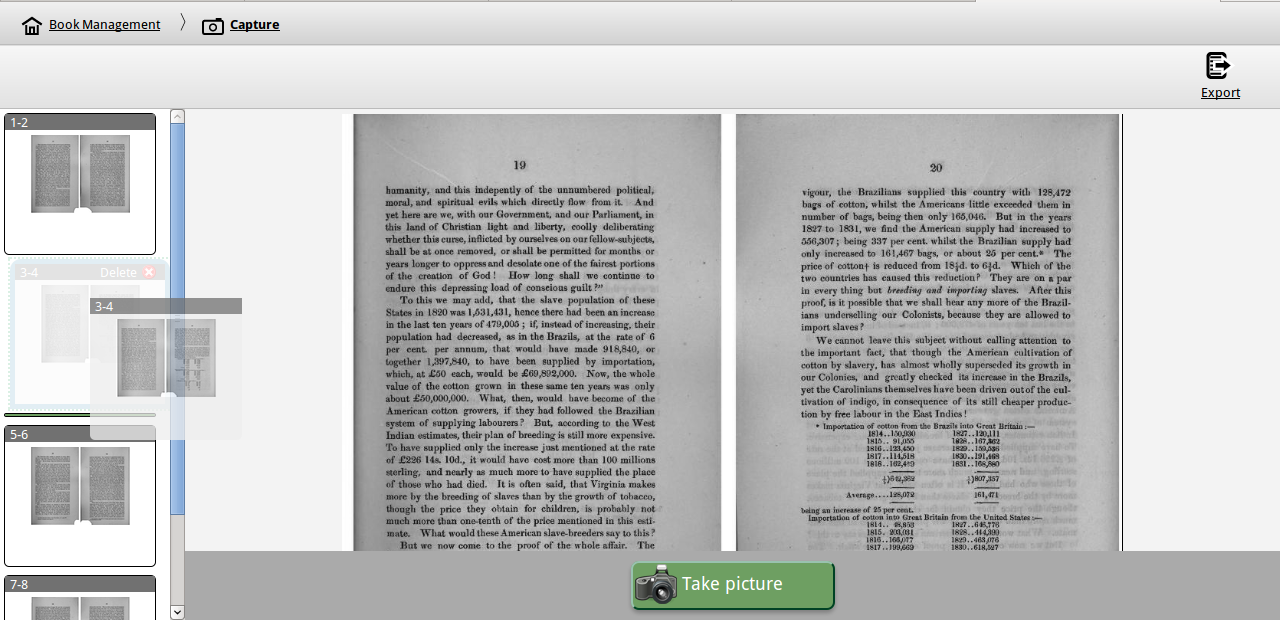
Reordering can be accomplished by:
- Selecting a thumbnail with a mouse and dragging it to the new position, or
- Selecting a thumbnail and while CTRL is depressed, press arrow key up, down, left, or right.
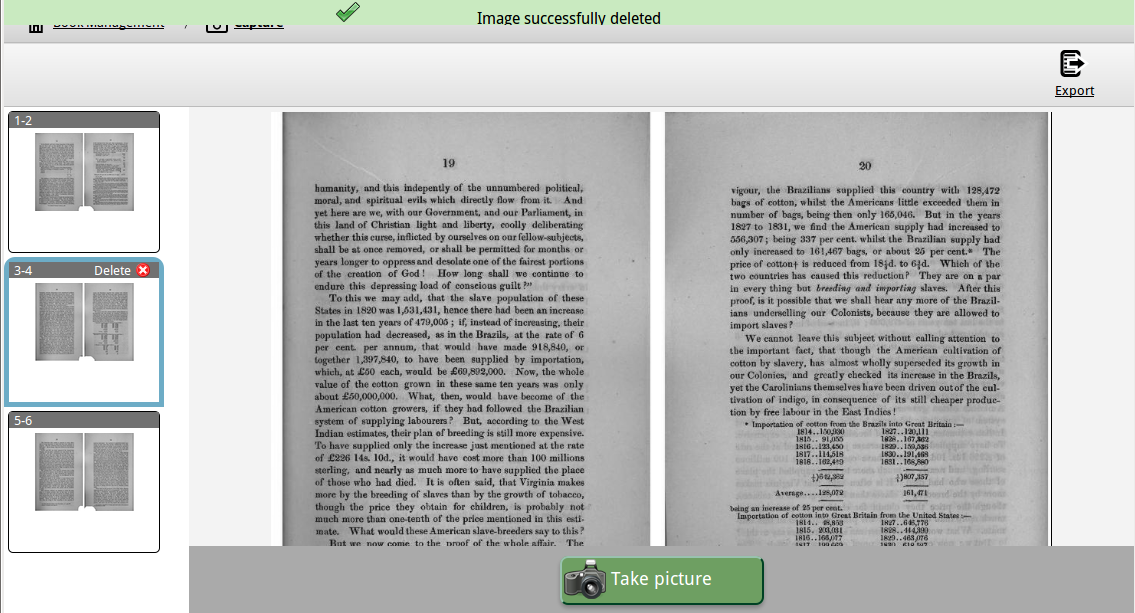
Images can also be deleted by first selecting the image you want to delete, and then by activating the "Delete" button on the selected thumbnail.
Exporting to PDF
Once you have a set of images captured, you can export all the images as an image PDF. To start this process, select the "Export" button.
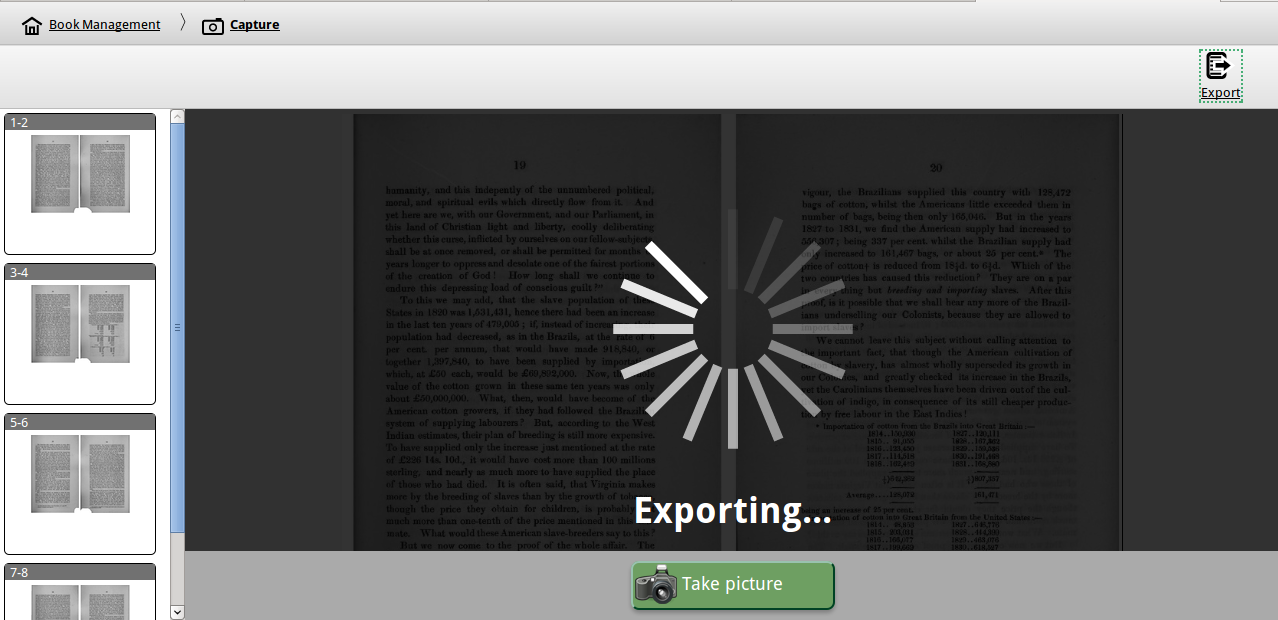
After some time processing, a PDF will be generated and a prompt will appear in the browser to open or save the generated file.
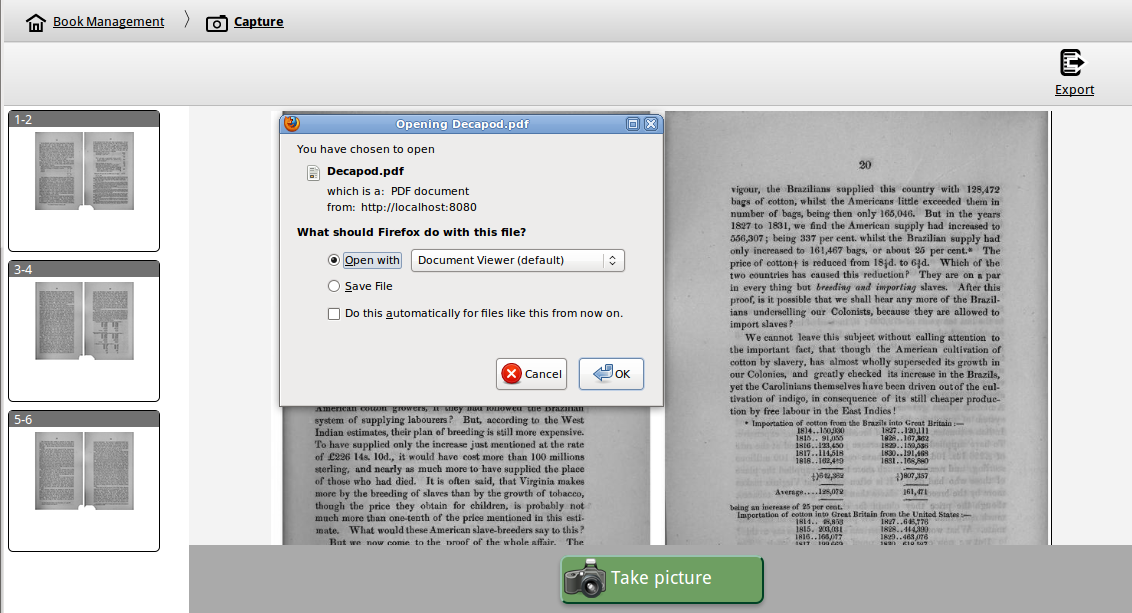
Alternatively, the generated PDF is also saved in the following location: ./decapod-0.4/decapod-server/book/pdf/Decapod.pdf. You can view this file by using an application like evince:
evince ./decapod-0.4/decapod-server/book/pdf/Decapod.pdf
Limitations and Known Issues
The following list are some of the issues and limitations of this release. For a full list of known issues, please visit the Decapod bug tracker.
Capturing Images
Limitations
- If you do not have access to two compatible cameras, you will not be able to use the capture feature in Decapod 0.4.
- In release 0.4, the Canon PowerShot G10 is the only supported camera. More cameras will be added by version 1.0.
- If images are not rotated properly, the exported PDF may have unexpected results.
- Perspective and page dewarping is not possible in this release.
Known Issues
- The "Try Again" button does not work: To work around this, close the dialog and press the "Take Picture" button again. (FLUID-3534).
 Possibly fixed. Will update once Bug database is running. (Jul 28, 2010)
 - While improvements have been made to taking pictures, the entire process from capture to rendering on screen can take a long time. The project will work on improving the performance of the system. (FLUID-3545, FLUID-3536).
Exporting
Limitations:
- Exporting functionality is limited to exporting to an image PDF file in this release.
- The image PDF will be in greyscale. (FLUID-3569).
Known Issues:
- In some cases pages in a PDF may be colour inverted. This is a known issue and will be fixed in the next release.
- If the system does not detect characters, then the page will may be omitted from the exported PDF. (FLUID-3570).
Viewing and Organizing Thumbnails
Known Issues:
- Using mouse drag and drop does not scroll up or down properly at the boundary. (FLUID-3523).
- Sometimes it takes more than one keystroke to start a keyboard reordering.(FLUID-3568)
- Selection wraps at the bottom of the list back to the top - it should not. (FLUID-3391).
Feedback and Support
If you need further assistance, you can contact the Decapod team by:
- joining the Fluid Project IRC channel: #fluid-work on irc.freenode.net (See this guide on getting connected)
- posting a message to the Decapod Google group. You can start by visiting this link: http://groups.google.ca/group/decapod.
If there is an error being printed in the console, be sure to include that in your message.