4 Steps to setting up a wiki account and uploading a photo to the team page:
1. Create an account
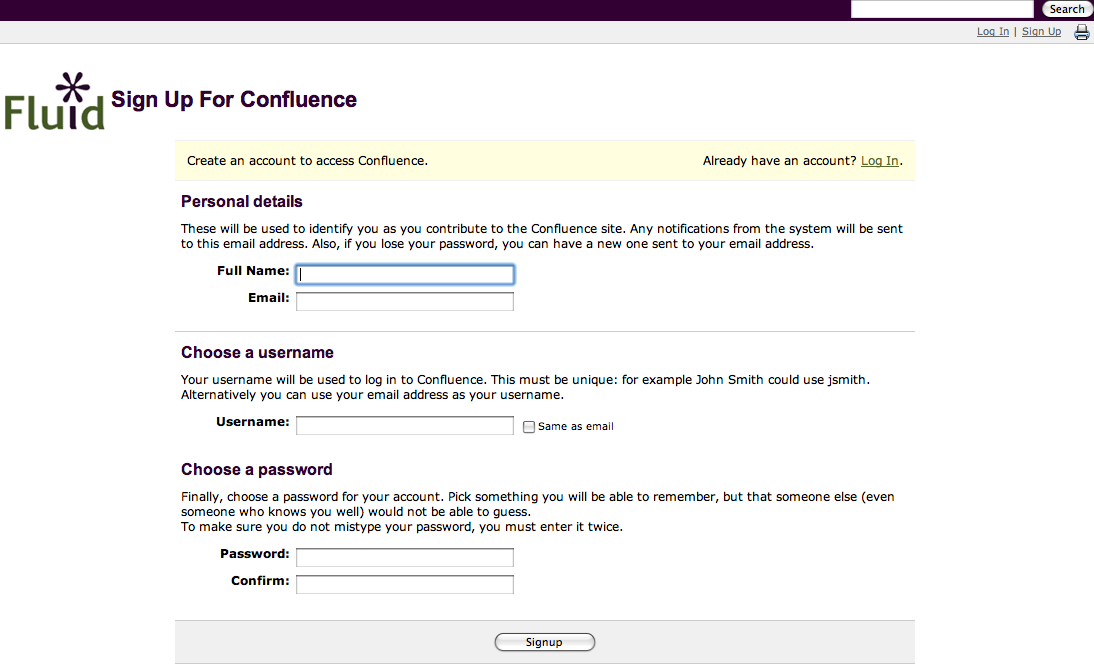
Select "Sign Up" in the upper right of any wiki page to create a new wiki user account.
Make note of your username – you'll need it for the wiki markup step.
While you're in this section of the wiki, please add some text to tell us all about you. You might also consider selecting the daily email digest of changes on the wiki so you can see a summary of work done in the wiki in one email per day.
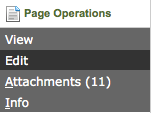
2. navigate to the Fluid Engage Team page and choose "Attachments" from the Page Operations on the left navigation bar.
You will be prompted to upload a photo.
3. after uploading, return to the Fluid Engage Team page and choose "Edit" from the Page Operations on the left navigation bar.
You will need to follow the wiki markup convention to reference the photo you just uploaded and to reference your new user account. The following picture shows the wiki markup pattern – two rows, the first with "!name of file!" references the photo, the second row with "~username here" references the user account you setup in Step 1.


